
Losing a finger changes how you live each day. Tasks like writing, holding a cup, or using your phone suddenly feel unfamiliar. Even small movements can take more time and effort.
Simple chores, such as buttoning a shirt or opening a jar, can be frustrating. You might feel self-conscious or lose confidence. Loved ones want to help but don’t always know how.
A prosthetic finger restores function and comfort. The process begins with a consultation to establish a personalized fit. Then, you learn how to use and care for it. Over time, it becomes part of your daily life, helping you regain confidence and ease.
Step 1: The Initial Consultation
The process starts with a visit to a prosthetist. This specialist asks about your daily habits, work, and hobbies. They’ll want to know how you use your hands and what your goals are. Some people want to improve function. Others care most about how the prosthetic looks.
This is the best time to ask questions. The better you understand the procedure, the more at ease you’ll feel. Whether you’re concerned about comfort, color match, or cost, your prosthetist is there to help.
Step 2: Taking Measurements and Making a Mold
After the consultation, the next step is creating a mold of your hand. This ensures a snug, natural-looking fit. The prosthetist will also study your skin tone and the shape of your other fingers. This attention to detail allows the prosthesis to blend in.
At this stage, you’ll decide between two main types:
- Passive prosthetics: For appearance only; they don’t move.
- Functional prosthetics: Designed to assist with movement and basic tasks.
Your choice will depend on your needs and how much movement is possible at your amputation site.
Step 3: Material and Design Choices
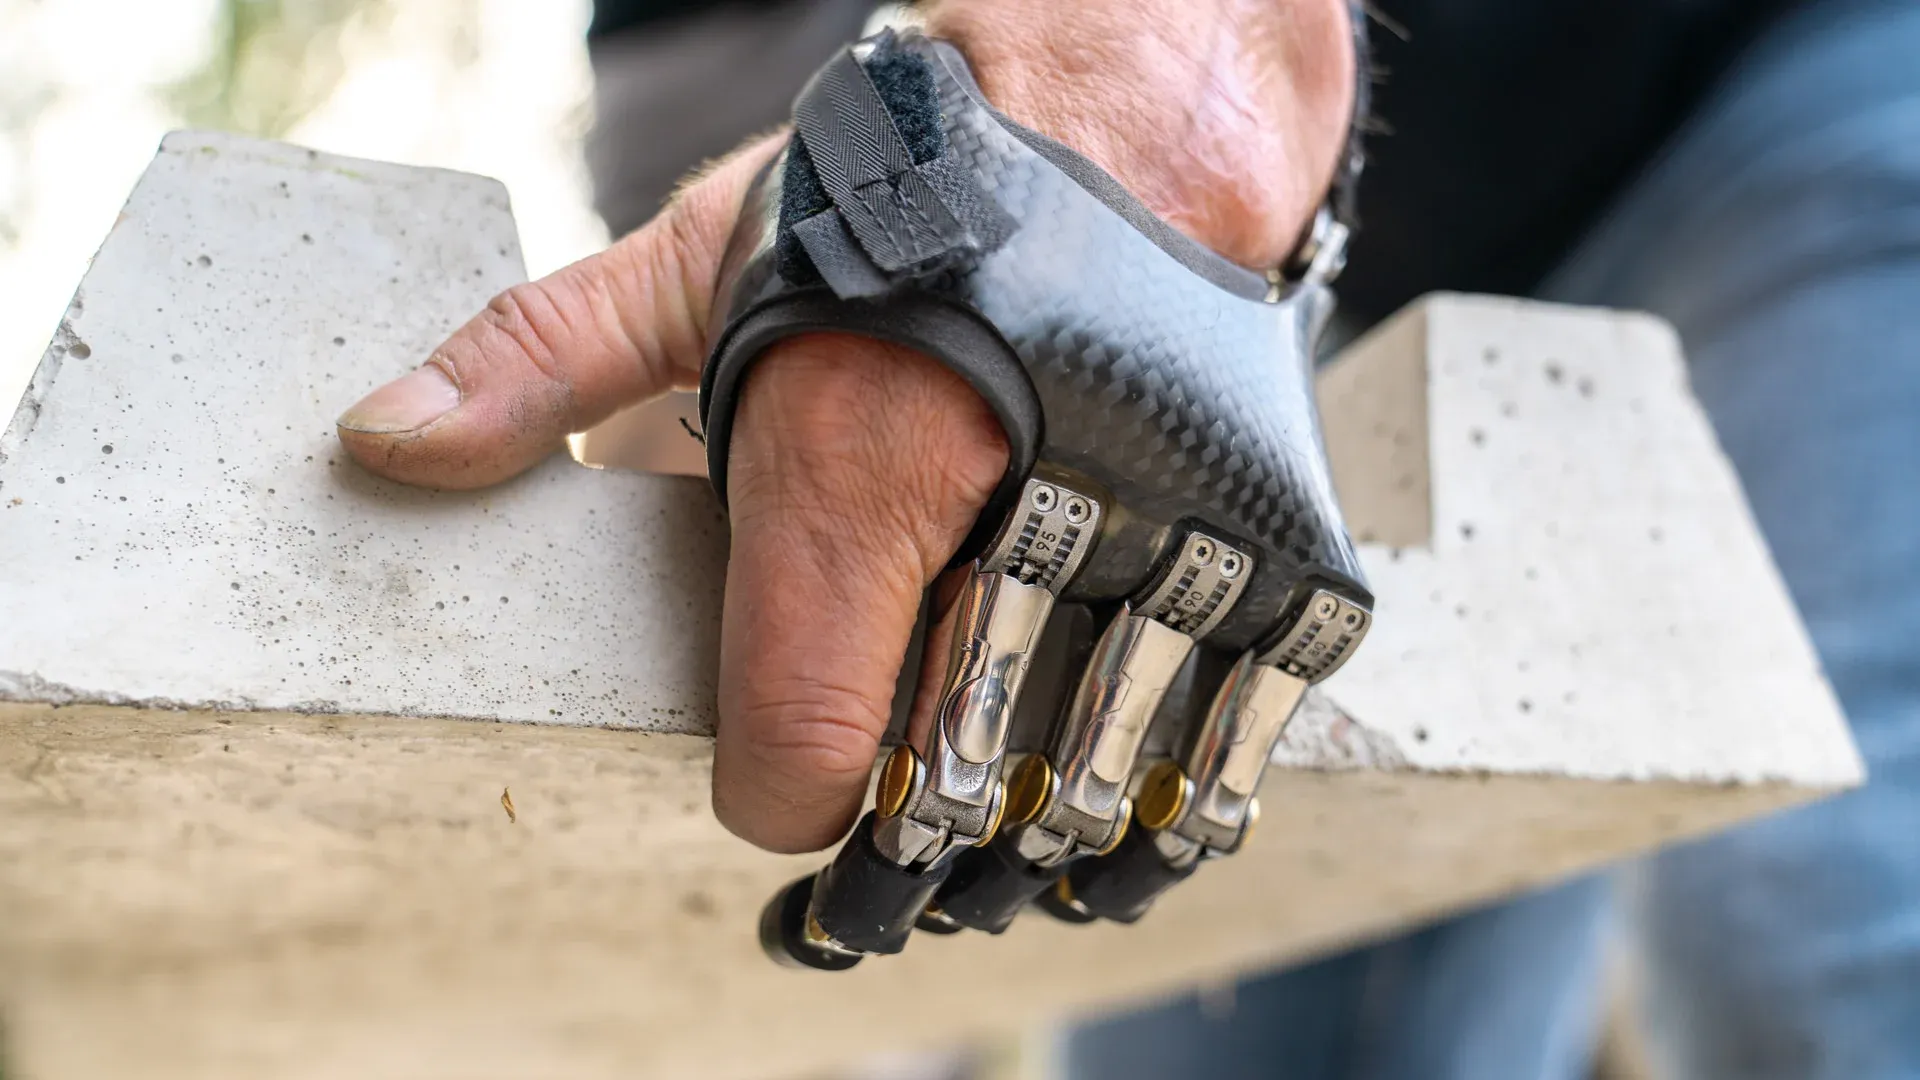
Prosthetic fingers are usually made from soft silicone and lightweight metals. Silicone makes the finger feel more lifelike. It is also flexible, resilient, and skin-safe. Lightweight metal may be used inside for support.
You’ll also help design how it looks. Details like nails, wrinkles, freckles, and color are added for realism. These finishing touches can help you feel more confident wearing it in public or during everyday activities.
Step 4: The First Fitting
When your prosthetic finger is ready, you will have your first fitting. This is an exciting step! The prosthetist places the device on your hand and checks how it fits. If it feels too tight, loose, or uncomfortable, they’ll make adjustments.
During the fitting, you’ll also learn:
- How to wear it and remove it
- How to wear it safely for long periods
- What to expect in terms of sensation and movement
Getting used to it takes time, but guidance from your prosthetist helps a lot.
Step 5: Adjusting to Everyday Use
At first, wearing a prosthetic finger may feel odd. It takes time to get used to holding, gripping, or typing. Don’t worry—progress is normal, and every person adapts at their own pace.
Some people work with an occupational therapist. These therapists teach hand exercises, movement techniques, and ways to improve daily tasks. With practice, tasks like brushing your hair or holding a cup will feel more natural.
Support from family and friends can also make a huge difference.
Step 6: Cleaning and Maintenance
Like any medical device, prosthetic fingers need care. Cleaning it daily prevents dirt buildup and protects your skin. Use a soft cloth, gentle soap, and cool water. Steer clear of hot water, alcohol, and bleach as these can harm the silicone.
It’s also important to:
- Dry the device thoroughly
- Store it in a safe, clean spot
- Avoid extreme heat or direct sunlight
Regular care helps extend the life of the prosthetic and keeps it looking and feeling great.
Step 7: Understanding the Costs
Cost is a common concern. Depending on the kind, materials, and customization, the cost may change. Insurance may cover part or all of the cost, especially if it’s needed for work or daily functions.
Always ask your provider:
- What’s included in the estimate?
- Does my insurance help?
- Are payment plans available?
Some nonprofit groups and foundations offer financial help for those who qualify.
Step 8: Emotional Recovery Is Just as Important
Physical recovery is only part of the story. Losing a finger can impact your confidence, mood, and relationships. You may feel frustrated, anxious, or even sad. These emotions are normal and valid.
Many people find support through:
- Counseling or therapy
- Peer support groups
- Talking openly with friends and family
Healing emotionally may take time, but you’re not alone. Help is available, and many people find peace and strength through the journey.
Step 9: Follow-Up Visits Matter
Even after your prosthetic finger is fitted and working well, regular check-ins with your prosthetist are essential. The fit may alter as your body changes over time. A quick adjustment can prevent pain or skin irritation.
Follow-up visits also give you a chance to:
- Ask new questions
- Explore newer options or upgrades
- Make sure your prosthetic still meets your needs
Conclusion
It takes more than just a physical adjustment to become used to artificial fingers. It includes emotional healing, education, and practice. Support systems, expert guidance, and strong design create meaningful outcomes. A life filled with confidence and function is possible again.
OPC is available to assist you in considering your options. We provide you the help you deserve and listen carefully.